Using a clay bar before ceramic coating sounds like a must, but for a spray finish it's only needed when the paint still feels rough after a wash. Clay is a useful tool, not a ritual, and using it when you don't need to just adds time and the risk of light marring. This guide is a closer look at the clay step from how to prep your car for ceramic spray: how to tell whether your paint needs it, how to clay safely, where iron remover fits, and what to do afterward. APGO's own products, which come up later, are a silicone-based spray glaze, not a ceramic coating.
Do I Need to Clay Bar Before Ceramic Spray?
Usually only if the paint still feels rough after you've washed it. If it feels smooth, you can usually skip clay and move on.
Here's why washing doesn't always get everything. Some contamination doesn't just sit on the paint; it bonds to it. Tiny specks of tree sap, industrial fallout, overspray, and iron particles from brake dust and rail dust can stick firmly to the clear coat. A normal wash lifts dirt that's resting on the surface, but it often can't release particles that are stuck to it. That bonded layer is what makes clean paint feel gritty, and it's what clay is designed to pull off.
New cars aren't automatically exempt. Paint can pick up fallout during transport and storage, so let the feel of the paint decide, not the mileage. Whether to coat a new car at all is its own question; see should you ceramic coat a new car.
The Bag Test: How to Tell If Your Paint Needs Clay
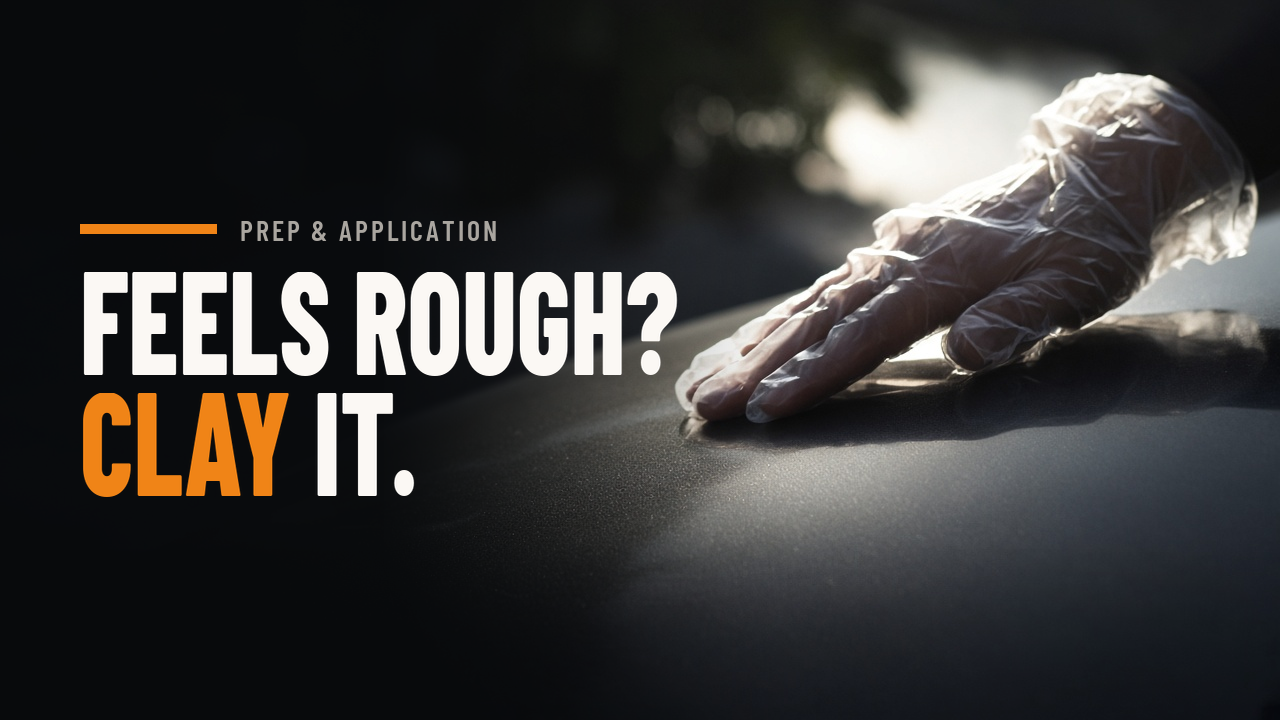
The easiest way to check is the bag test. Wash and dry the car, then slip your hand into a thin plastic sandwich bag and glide your fingertips lightly across the paint. The bag exaggerates texture, so you'll feel contamination you'd miss with bare fingers.
- •Smooth as glass: skip the clay.
- •Feels like fine sandpaper: the paint has bonded contamination, and clay can help.
Check the horizontal panels first, such as the hood, roof, and trunk lid, since contamination tends to settle there. Also check the lower panels behind the rear wheels, which often catch the most road grime.
How to Use a Clay Bar Before Ceramic Coating
Claying is simple, but it rewards a light touch. Always follow the directions on your clay and lubricant.
Clay Bar, Clay Mitt or Clay Towel?
All three do the same job in slightly different ways. A traditional clay bar gives the most control and feel, but you need to knead it to a clean face as it picks up contamination. A clay mitt or clay towel covers more area faster and can usually be rinsed and reused, which suits larger vehicles or people who clay more often. Which you pick comes down to the condition of the paint and your own preference.
Lubricate, Go Light, Work Small
Use plenty of lubricant, following its label, and never clay a dry surface. Work a small section at a time with light pressure and straight back-and-forth passes, letting the clay glide rather than pushing it into the paint. When the section feels smooth and the clay stops grabbing, move on. Wipe off leftover lubricant and residue as you go.
Dropped It? Toss It
If a clay bar hits the ground, throw it away. It will have picked up grit that can scratch the paint, and you can't reliably knead it out. Clay mitts and towels can usually be rinsed clean instead; follow their labels.
Clay Bar Before or After Iron Remover?
Usually after. A typical order looks like this: wash the car, use an iron remover if the paint needs it (following its label), clay the areas that still feel rough, then wash or rinse again before you apply protection, either dry or wet according to that product's label.
The reasoning is simple: letting the chemical dissolve iron particles first leaves less for the clay to pull off, which means less friction on the paint. To see where decontamination fits in a full detail, from wheels to glass, see our guide to exterior car detailing steps.
After Clay: Haze, Stripped Protection and What Comes Next
Clay can leave light haze or marring, especially on dark paint or under strong light. Whether that's worth addressing depends on how much it bothers you; polishing is one option for removing it, but it's a separate job. If you're wondering how much a coating can do about marks like these, see does ceramic coating prevent scratches.
Claying can also take existing wax or protection off along with the contamination, so plan to put protection back on afterward. If your actual goal is to strip old wax, that's a different process with its own steps; see how to remove wax before ceramic coating.
Finally, wash or rinse off any clay residue and lubricant, then dry the car or move straight to a wet-application product, depending on what you're using. For drying and finishing, see what to do after washing your car.
Using APGO's Silicone-Based Spray Glaze After Clay
APGO makes a silicone-based spray glaze, not a ceramic coating. Clay is general paint prep that you do only when the paint needs it; the clay, lubricant, and iron remover mentioned above are generic products, used as their own labels direct.
If you're following with APGO Atomic Colored Glaze (D204), wash the car again after claying and let it dry completely before you apply it. APGO doesn't recommend applying D204 over an existing wax layer; don't rely on claying to take care of that, because wax removal is its own job. Before you touch the paint with a cloth, check it for leftover grit, sand, or dust, including any clay residue. Anything left on the surface can be dragged across the paint while you spread or buff, and that's what causes fine scratches and swirl marks. The full routine is in how to apply APGO Atomic Colored Glaze.
If you're following with APGO Atomic Glaze Coating (D215), apply it after washing and rinsing, while the paint is still wet: spray it onto the wet paint, spread it with a damp application cloth, towel-dry the car, then buff with a clean coral-fleece microfiber towel. "Wet" means freshly washed and rinsed, not wet from rain or still dusty. See how to apply APGO Atomic Glaze Coating.
Not sure which suits your routine? See APGO's wet vs dry glaze routines, or compare APGO's silicone-based spray glaze.
FAQ
Do I need to clay bar before ceramic spray?
Usually only if the paint still feels rough after washing. If it's smooth, skip it.
Should I use a clay bar before or after iron remover?
Usually after: wash, use iron remover if needed, then clay, then wash or rinse again.
Can clay scratch my paint?
It can leave light haze if you press hard, use too little lubricant, or keep using a bar that's been dropped.
Does claying remove wax?
It can take existing wax or protection with it, so plan to reapply protection afterward.
How often should I clay my car?
Only when the bag test says the paint feels rough again. It isn't an every-wash step.
Bottom Line
Feel the paint before you decide. Clay only when it's rough, use plenty of lubricant and a light touch, and use iron remover first if you need it. Afterward, put protection back on, dry or wet according to the product's label, and keep the paint clean with regular, gentle washes; see how to wash a ceramic coated car.
This article is published by APGO. General guidance does not replace the directions for a specific product.