The bottle says "easy," and the spraying part usually is. Whether the finish comes out even and holds up, though, is mostly decided before you pick up the bottle. This guide shows how to prep your car for ceramic spray with a simple ladder: wash, check for contamination, decontaminate only if you need to, confirm there's no old wax, dry the car or leave it wet as your label says, then inspect. It isn't an application guide for any one product. Once the prep is done, follow the directions on the bottle you're using. Where we mention APGO, keep in mind that its products are a silicone-based spray glaze, not a ceramic coating; the same prep ladder applies to them.
How Much Prep Does a Ceramic Spray Actually Need?
A spray product needs paint that is clean, smooth, and free of old wax or unknown products. What it usually doesn't need is the full treatment a liquid coating job involves. Most advice on how to prep a car for ceramic coating is written for liquid or professional coatings, which typically call for more thorough work, often including machine polishing to correct the paint first. The exact requirements for those depend on the product or the shop.
Keep one expectation in check: a spray won't remove existing scratches, swirl marks, or oxidation. Prep isn't about making old paint look new. It's about not adding new marks and making sure the product goes onto paint, not onto dirt or leftover product.
How to Prep Your Car for Ceramic Spray, Step by Step
Work through these six steps in order. Most take only a few minutes, and you'll often skip step 3 entirely.
1. Wash the Car Thoroughly
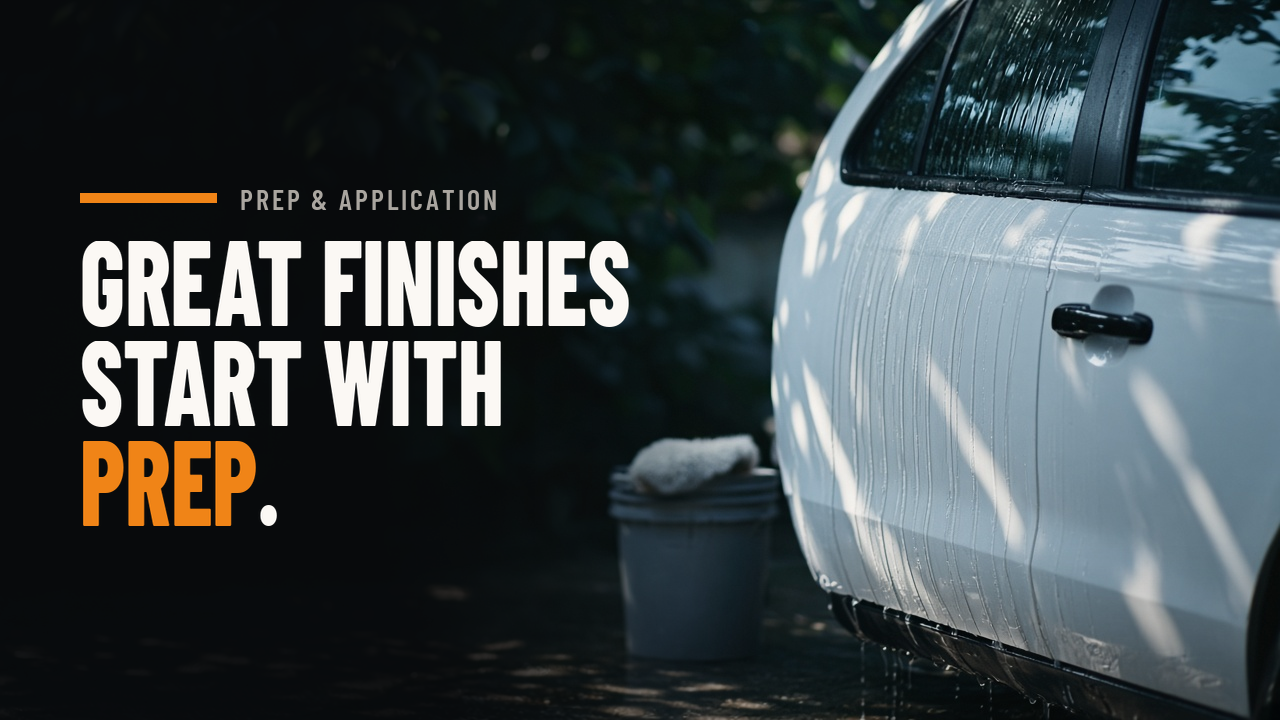
Use a dedicated car shampoo and clean tools to lift grit, dust, and road film, then rinse until no soap is left. Soap residue sits between the paint and whatever you spray next, so the rinse matters as much as the wash. Give extra attention to the lower panels, the areas behind the wheels, and the edges around badges and trim, where dirt tends to hide.
The wash routine itself, from the pre-rinse to the order you work around the car, is a topic of its own. We cover it in how to wash a ceramic coated car.
2. Feel and Look for Bonded Contamination
Once the paint is clean, check whether anything is still stuck to it. Run clean fingertips lightly across a horizontal panel such as the hood or roof. If it feels gritty or rough instead of glassy, something is bonded to the surface. Some people slip their hand into a thin plastic bag first, which makes roughness easier to feel.
Then look at the paint in good light. Tiny orange or brown specks are often iron fallout. Dark spots low on the sides are usually tar, and sticky, glossy droplets are usually tree sap. If the paint feels smooth and looks clean, you can skip straight to step 4.
3. Decontaminate Only If You Need To
Decontamination fixes a problem you found in step 2. It isn't a required part of every spray session.
Iron remover. An iron remover is made to dissolve embedded iron particles, the kind of fallout from brake dust and industrial sources that a normal wash won't lift. Using an iron remover before ceramic coating or any spray finish makes sense if the car racks up highway miles or you spot brown or orange specks, especially on panels near the wheels. Follow that product's label for how to use it, then rinse the car thoroughly before you move on.
Clay. A clay bar or clay mitt lifts bonded contamination you can still feel after washing. Use plenty of lubricant and light pressure, and let the clay glide rather than scrub. Because clay works by friction, it can leave faint marring on some paint, which may need attention before you add a finish. Clay technique is a deeper topic than this guide covers, so keep it light and only use it where the paint actually feels rough.
4. Make Sure There's No Old Wax on the Paint
A spray finish is designed to go onto clean paint. When old wax sits in between, the common results are uneven application, haze, and a finish that doesn't last as long as it should.
If you don't know what's on the paint, maybe because you bought the car used or can't remember the last product you applied, treat that as a question to answer first rather than something to spray over. Our coating-over-wax checklist helps you decide what to do, and the removal itself is covered in how to remove wax before ceramic coating.
For APGO products specifically, APGO does not recommend applying Atomic Colored Glaze (D204) over an existing wax layer. If the car already carries some other spray product, or you're not sure what it is, check the current label or contact APGO support before you apply an APGO glaze.
5. Dry the Car, or Leave It Wet, Based on Your Product's Label
"Spray-on" doesn't describe a single method. Some products go on fully dried paint. Others are designed to go on right after the rinse, while the paint is still wet. Read the label before you reach for the drying towel, because this is the step where people most often follow the wrong routine.
APGO's two products show both sides. APGO Atomic Colored Glaze (D204) is a silicone-based spray glaze that goes on after the car is washed and completely dried. APGO Atomic Glaze Coating (D215) is also a silicone-based spray glaze, but it goes on after washing and rinsing, while the paint is still wet. "Wet" here means freshly washed and rinsed. It doesn't mean wet from rain or still dusty.
If your product calls for a dry car, our guide on what to do after washing your car covers drying without adding marks. If you're still deciding between the two approaches, compare APGO's wet vs dry glaze routines.
6. Inspect the Paint in Good Light Before You Spray
Before the first spray, walk around the car and look at the paint from a few angles in soft, even light. You're looking for leftover water drops (if your product needs a dry car), spots the wash missed, residue from an old product, and fine scratches that were already there.
Be realistic about what you find. Dirt, water spots, and scratches are three different problems. Dirt means another pass with the wash. Mineral water spots and existing scratches need their own fixes, and no spray finish should be expected to handle all three.
Work in the shade, on paint that isn't hot to the touch. If you end up with streaks or haze after applying, see our guide to fixing streaks or high spots after a spray finish.
Check Which Surfaces Your Product Allows
Prep also means confirming that every surface you plan to spray is one the current label allows. Stick to what's listed rather than assuming a spray works everywhere on the car.
For APGO's silicone-based spray glaze, the surfaces are:
- •Atomic Colored Glaze (D204): paint, wraps, glass, and wheels. On the front windshield, remove any oil film first.
- •Atomic Glaze Coating (D215): paint and wraps. It is not recommended on the front windshield.
Here, "wraps" means vinyl wrap. For any surface not on the list, check the current label or contact APGO support before you spray.
What You Can Skip, and What You Can't
Not every step is needed every time. The decontamination steps depend on what you find, while cleaning, the wax check, and following the label never go away. Full paint correction usually isn't part of spray prep at all.
One more item belongs in the "can't skip" column: clean tools. A dirty wash mitt, drying towel, or application cloth can drag grit across paint you just spent time prepping.
Ready to Apply? Next Steps
Once the paint is prepped, switch to the directions for the product you're using. If that's APGO:
- •For the dry routine, see how to apply APGO Atomic Colored Glaze.
- •For the wet routine, see how to apply APGO Atomic Glaze Coating.
D204 and D215 are alternative routines, not a two-product layering system, so contact APGO before combining them. If you haven't picked one yet, compare APGO's spray glaze routines.
FAQ
Do I need to use an iron remover before ceramic coating?
Not always. An iron remover is only needed when the paint shows signs of iron fallout, such as orange or brown specks or a rough feel after washing. If you use one, follow that product's label and rinse the car thoroughly afterward.
Do I need to clay bar before a ceramic spray?
Only if the paint still feels rough after a thorough wash. If it feels smooth, you can skip clay.
Do I need to polish my car before applying ceramic spray?
A spray finish usually doesn't require full-car polishing. Keep in mind that a spray won't remove existing scratches, so if you want those gone, that's a separate job.
Can I apply a spray finish over wax?
Don't assume you can. Confirm what's on the paint or remove it first. APGO does not recommend applying D204 over an existing wax layer. For the full decision, see can you apply ceramic coating over wax.
Should the car be wet or dry before I spray?
Follow your product's label. APGO's D204, a silicone-based spray glaze, goes on completely dry paint, while D215 goes on paint that is still wet from the final rinse. Our wet or dry application guide explains the difference.
This article is published by APGO. General guidance does not replace the directions for a specific product.