The exterior car detailing steps are simple once you know the logic: dirtiest parts first, protection last. Most mistakes come from doing the right things in the wrong order. Wash the body before the wheels, and the grime and cleaner you scrub off the wheels can splash right back onto panels you just cleaned. Put protection on before you've checked the paint, and you may seal leftover dirt or residue under it. This guide gives you the full order, and each step points to a deeper guide when you want the details.
Why the Order Matters
Three simple principles decide where every step goes:
- 1Dirtiest first. Wheels and tires usually carry the heaviest grime and brake dust. Clean them first, so splatter from scrubbing lands on paint you haven't washed yet.
- 2Top-down. Wash the body from the roof down, so dirty water runs toward areas you still have to wash.
- 3Protection last. Whatever you use, whether wax, sealant, a spray glaze, or a ceramic product, it belongs on clean paint you've already inspected. Wet-application products go on right after the final rinse; dry-application products go on after the car is fully dry.
For more on that wet-versus-dry split, see what to do after washing your car.
Exterior Car Detailing Steps at a Glance
If you've ever wondered how to detail a car exterior step by step without backtracking, this is the order to follow. Three steps are optional and depend on the condition of the car and what's already on the paint: decontamination, wax removal, and polishing.
The Steps, in Order
1. Wheels and Tires
Start with the wheels and tires, using a dedicated brush and a wheel cleaner used as its label directs. Keep those tools separate from the ones you use on the paint. If the wheels are hot from driving, let them cool before you spray anything on them.
2. Pre-Rinse the Whole Car
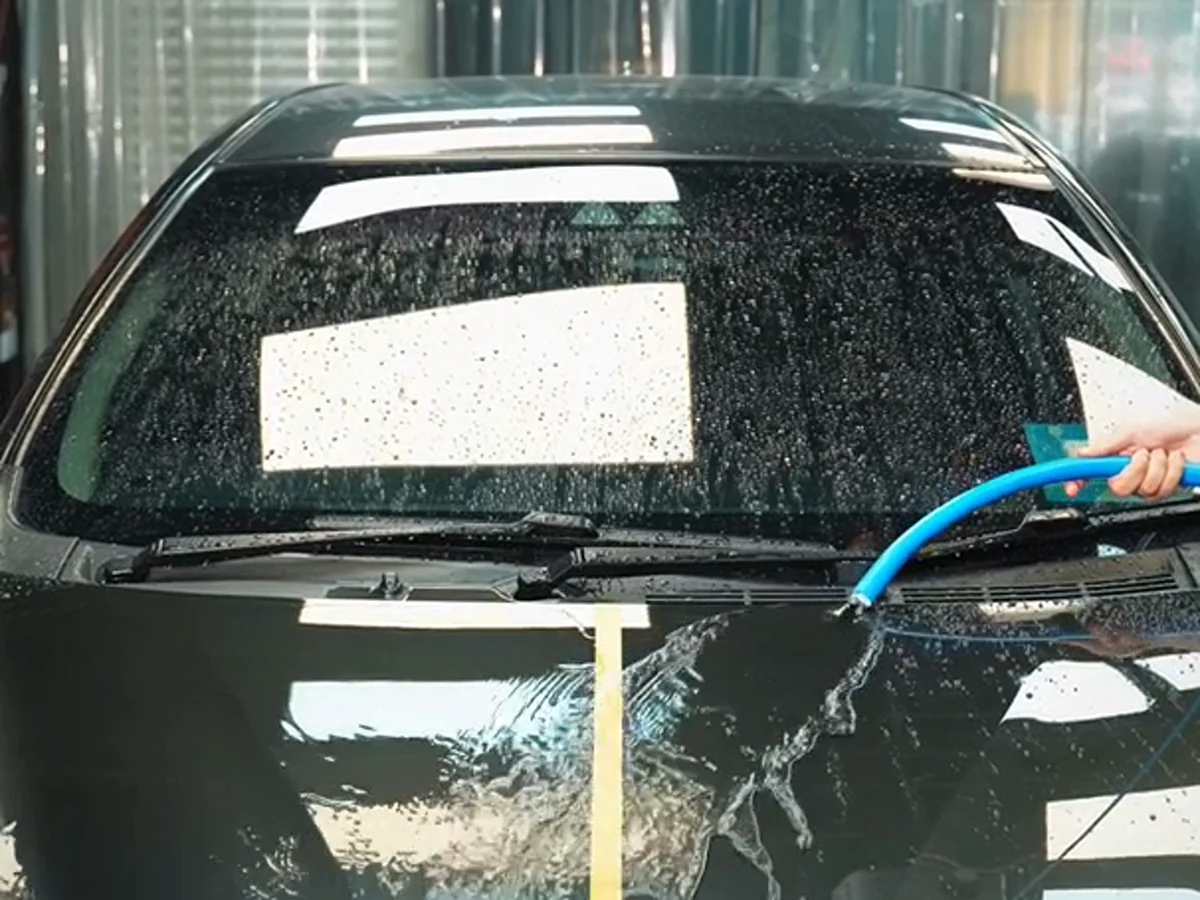
Rinse the whole car before you touch it with a mitt. Floating off loose grit first reduces the chance of dragging it across the paint. Of all the exterior car wash steps, this is the easiest one to skip and one of the most worthwhile to keep.
3. Hand Wash, Top Down
Wash from the roof down and leave the dirtiest lower panels for last. Rinse your wash mitt often so it isn't carrying grit from one panel to the next. Bucket setup and mitt technique are covered in how to wash a ceramic coated car. If you sometimes use an automatic wash instead, it can wear protection down faster than a gentle hand wash; see does an automatic car wash remove ceramic coating.
4. Decontaminate If Needed (Iron Remover or Clay)
After washing, run your fingertips lightly over the paint. If it still feels rough, bonded contamination is likely, and that's when an iron remover or a clay bar, used as its label directs, can help. If the paint already feels smooth, you can usually skip this step. How to check and what to do in what order is covered in how to prep your car for ceramic spray, and our guide on clay bar before ceramic coating goes deeper on claying. If you're switching protection products and there's old wax on the paint, removing it is part of prep too; see how to remove wax before ceramic coating.
5. Final Rinse: Where Wet-Application Products Go
Give the whole car a thorough final rinse so no soap or cleaner residue is left behind. Some protection products are designed to go on freshly washed, still-wet paint, following their label. If you use one of those, this is its place in the order: after the final rinse and before drying.
APGO Atomic Glaze Coating (D215) is one of these. It's a silicone-based spray glaze applied after washing and rinsing, while the paint is still wet: you spray it onto the wet paint, spread it with a damp application cloth, towel-dry the car, then buff with a clean coral-fleece microfiber towel. "Wet" here means freshly washed and rinsed, not wet from rain. D215's approved surfaces are paint and wraps only. For the full routine, see how to apply APGO Atomic Glaze Coating.
6. Dry the Car
Dry the whole car with clean, absorbent towels. Include the places that keep dripping, such as door jambs, mirrors, and the gaps around the trunk, since water left to dry on its own can leave spots. For drying technique and which towel does what, see our guide to drying and finishing after a wash.
7. Inspect in Good Light
Before anything else goes on the paint, look at it in natural light or with a flashlight held at a low angle. Deal with missed spots, leftover residue, and water marks now. Polishing is optional, and many spray protection products don't require it. Correcting scratches and swirl marks is a separate job from protecting the paint.
8. Apply Protection (Dry-Application Products Go Here)
Wax, sealant, spray glaze, and ceramic products each have their own label, and each should be applied the way that label says. Dry-application products belong here, once the car is completely dry and you've inspected it. No protection layer lasts forever, so plan to refresh it when the surface tells you it's time; our guide on how often to reapply a spray finish covers the signs.
APGO Atomic Colored Glaze (D204) is a silicone-based spray glaze applied after the car is washed and completely dried, so this is where it goes. APGO doesn't recommend applying D204 over an existing wax layer. D204 and D215 are alternative routines, not a two-layer system, so contact APGO before combining them. The steps are in how to apply APGO Atomic Colored Glaze, and if you're not sure whether the wet or dry routine suits your wash, see APGO's wet vs dry glaze routines or compare APGO's silicone-based spray glaze.
9. Glass
Clean the glass near the end with a glass cleaner, so drips and overspray from the other steps don't undo your work. If you plan to put any protection product on glass, first confirm that its label lists glass. The windshield also tends to build up an oil film, and whatever you apply to it is hard to get clean and even until that film is removed.
APGO's D204 can be used on glass; on the front windshield, remove any oil film first, because on a windshield that hasn't been de-filmed, the result won't be clean. D215's approved surfaces are paint and wraps only, so for any glass, including the front windshield, check the current label or contact APGO support. Our guide to ceramic coating on a windshield covers glass prep in detail.
10. Trim, Tires and a Final Walk-Around
Check unpainted plastic trim for leftover wax remover, cleaner, or polish residue, and wipe off anything you find with a clean, damp cloth before it dries in. If you use a tire dressing, apply it last, so it doesn't sling onto freshly finished paint. Then walk around the car once more to catch water trails from mirrors and gaps, product residue, and any spot you missed.
Full Detail vs Quick Wash: Which Steps to Keep
On a quick wash day, you can usually skip decontamination, wax removal, and polishing; those are for when the paint needs them.
Some steps are worth keeping every time:
- •Wheels first, so their grime never lands on clean paint.
- •Top-down washing, so dirty water runs toward unwashed areas.
- •A thorough final rinse, so no soap or cleaner dries on the paint.
- •Complete drying, or, if you use a wet-application product, following its order: apply after the final rinse, then dry.
When to put protection back on depends on the product and how the paint is holding up, not on a fixed number of washes.
FAQ
What is the correct order for exterior car detailing?
Wheels and tires, pre-rinse, top-down wash, decontamination if needed, final rinse, dry, inspect, protect, then glass and a final check.
Should I wash the wheels before or after the body?
Before, so grime and cleaner spray don't land on panels you've already washed.
Do I need to clay the car every time I detail it?
No. Clay is usually only needed when the paint still feels rough after washing. See how to prep your car for ceramic spray for how to check.
When do I apply protection, while the car is wet or after it's dry?
It depends on the product label. Wet-application products go on after the final rinse, and dry-application products go on after full drying and inspection.
Should glass be cleaned first or last?
Last, so overspray and drips from other steps don't undo it. Remove the oil film from the windshield before applying any glass product.
Bottom Line
Dirtiest first, protection last. Every step has its place, and protection only goes on a clean surface you've inspected. Once the car is done, keeping it that way is mostly about regular, gentle washing; see ceramic coating maintenance for a simple routine. APGO's silicone-based spray glaze comes in a wet routine and a dry routine, and steps 5 and 8 show where each one fits.
This article is published by APGO. General guidance does not replace the directions for a specific product.